A few months back, Apple released an update to Apple Business Manager and Apple School Manager to allow API access to customers. Apple has thoroughly documented the API.
I tried to implement the new API in Okta Workflows, and got it mostly working, but I wasn’t happy with it.
Apple requires an assertion which can live up to 180 days. Once you have that assertion, you can request a bearer token, and with that bearer token, you can perform API calls.
Bart Reardon created a shell script that requests that assertion. What I had done was take that assertion generated by the script, and used it as an input. That would mean, that twice a year, I’d need to run the shell script on my local computer and replace that assertion. That’s a sloppy workflow that I was unhappy with. I spent a long time trying to troubleshoot how to get Workflows to generate the assertion on my behalf and discard it as needed. Eventually I gave up, but asked a colleague to take a look and see if he can get it working.
JM spent some time and came up with this solution.
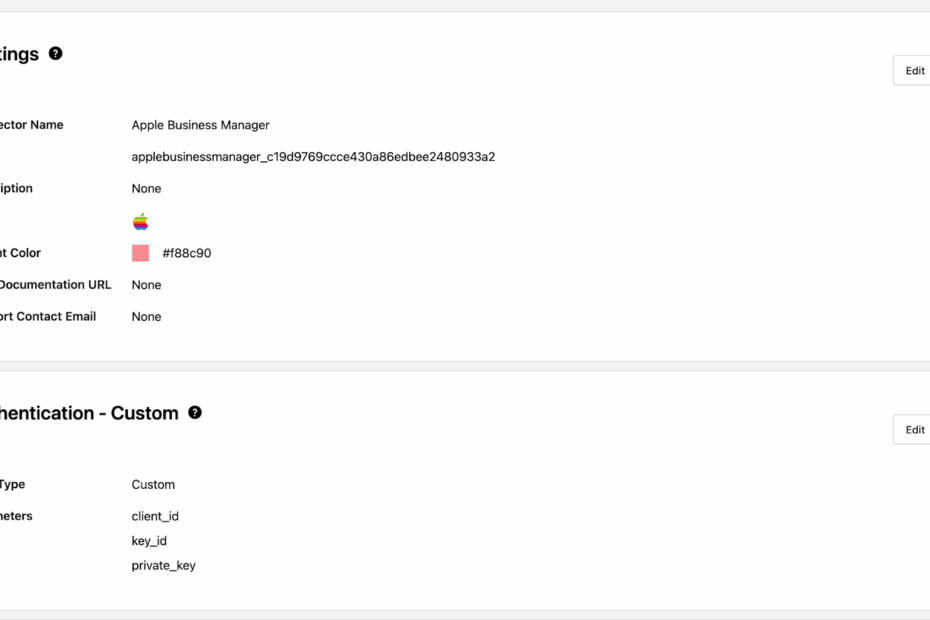
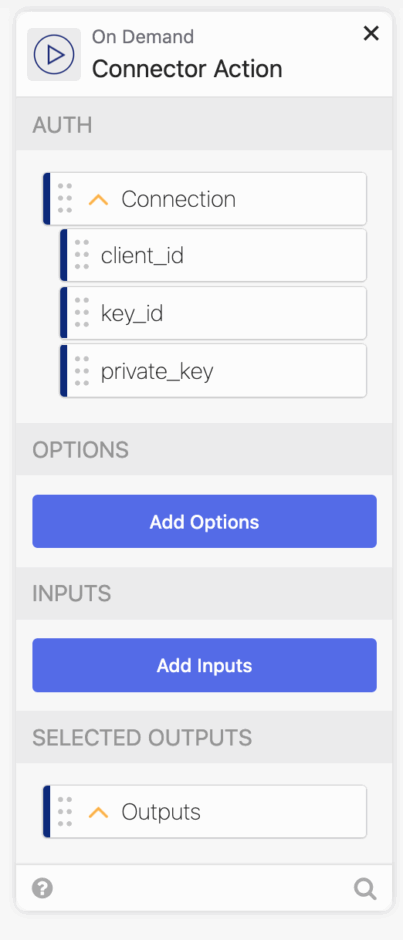
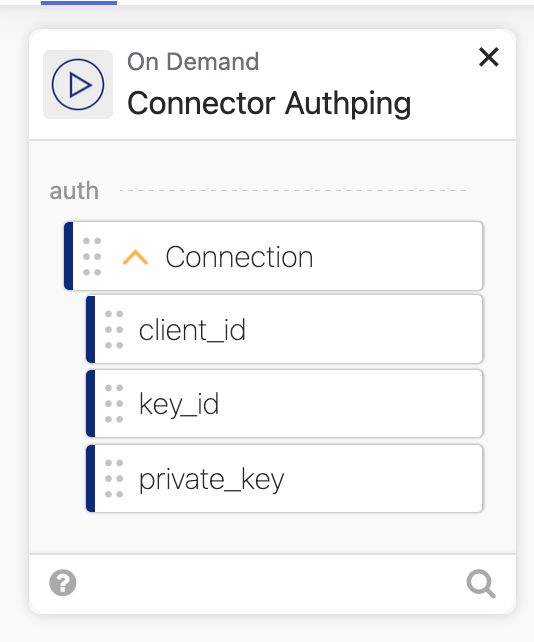
When setting up the ABM connector, you’ll need to pass through authentication parameters. All of these are outlined in Bart Reardon’s script above. They are setup in Apple Business Manager, where you can generate those unique values and create the credentials in Okta Workflows.

Okta Workflows require a few flows to create a new connector.
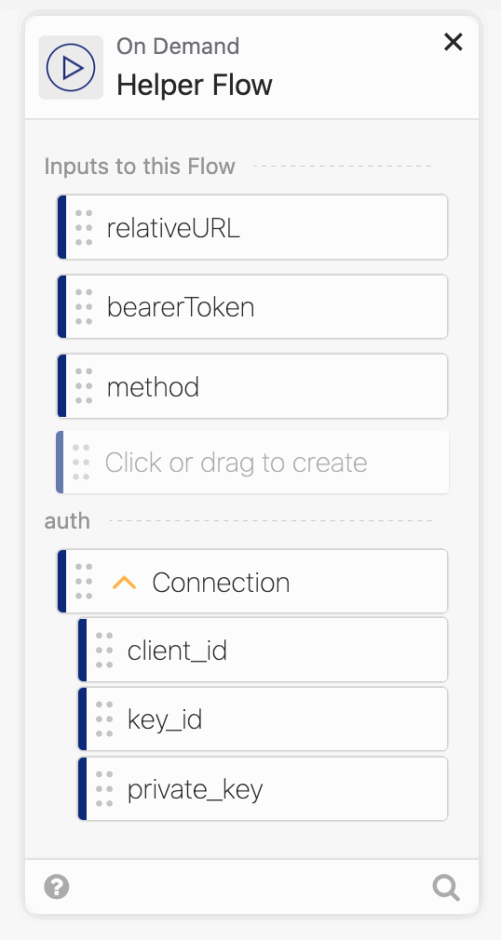
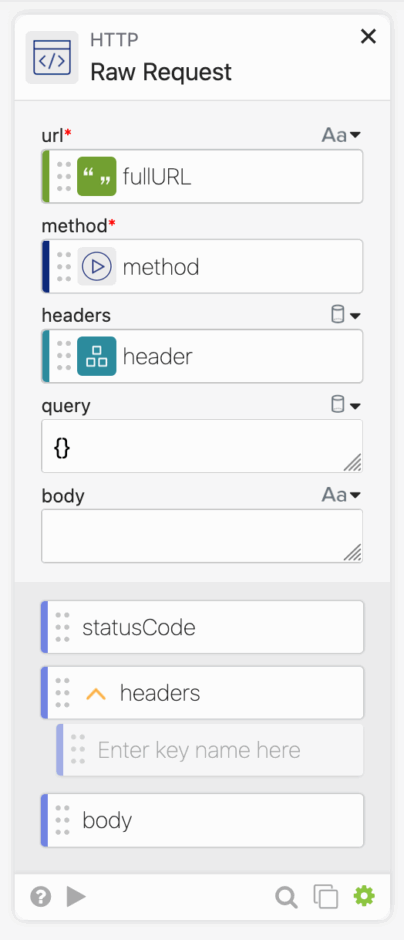
First we need the httpHelper which is the meat of the connector. It calls the API and passes the data you will be passing it.
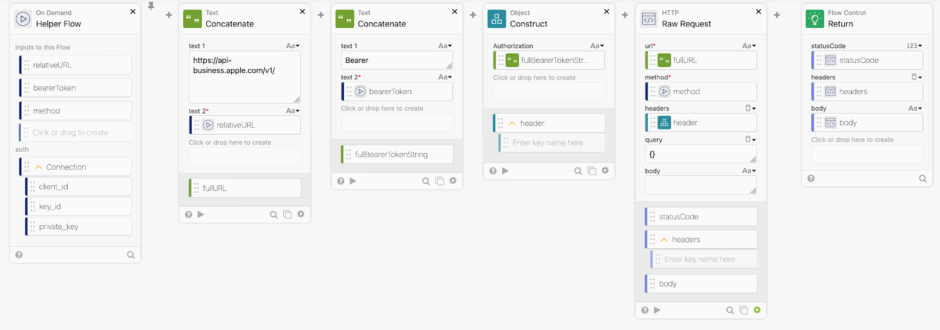
Let’s take a closer look at each card.
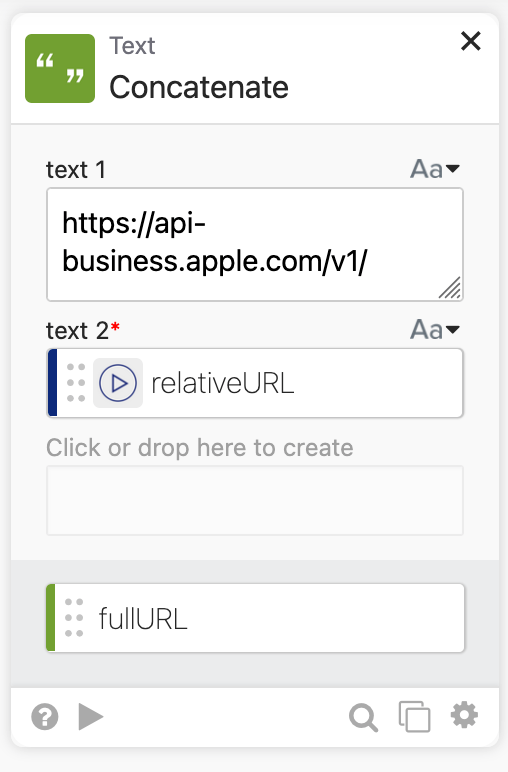
EDIT: While v1 is the current version of the API, this may change in the future. You may choose to have the user input the version into the card rather than having it hard-coded. If Apple moves some endpoints to v2 and other not, this will break. For the moment, I’m happy having the version in the connector instead of the individual workflows, because if Apple updates everything, then I can change it with one change, but I want to warn those who may be reading this.
Next we need to get the bearer token, and that is where JM’s magic happened.
EDIT: Another user pointed out that the private keys generated from Apple started with —–BEGIN EC PRIVATE KEY—–, while mine doesn’t include the EC. So I’ve updated the image to below
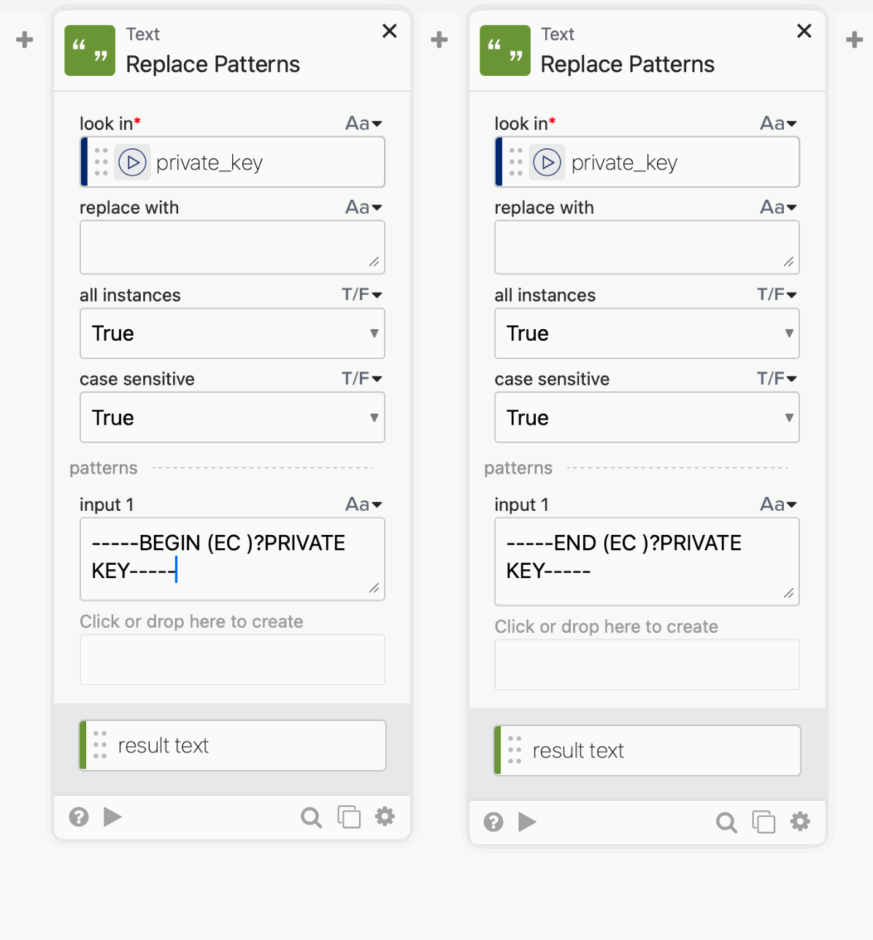
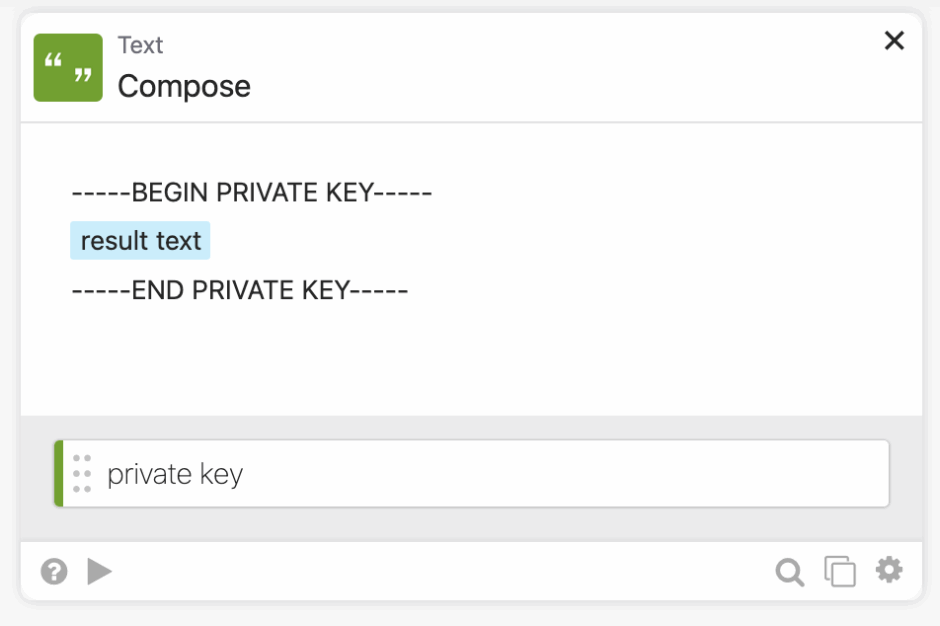
First we strip the header and footer from the private key, and then we add it back in. We weren’t able to get Apple to spit out a proper assertion without doing this step.
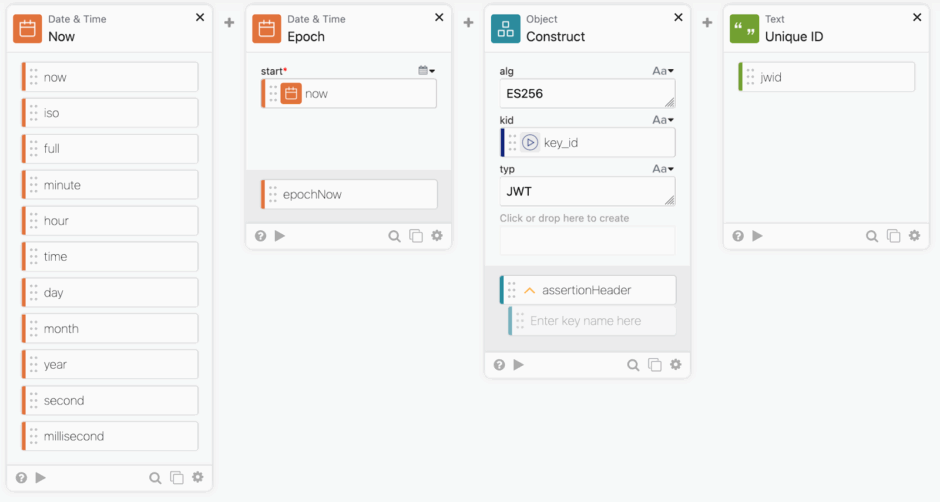
Singing a JWT requires a few things, the current date, the algorithm, the key id, the type, a unique id called jwid.
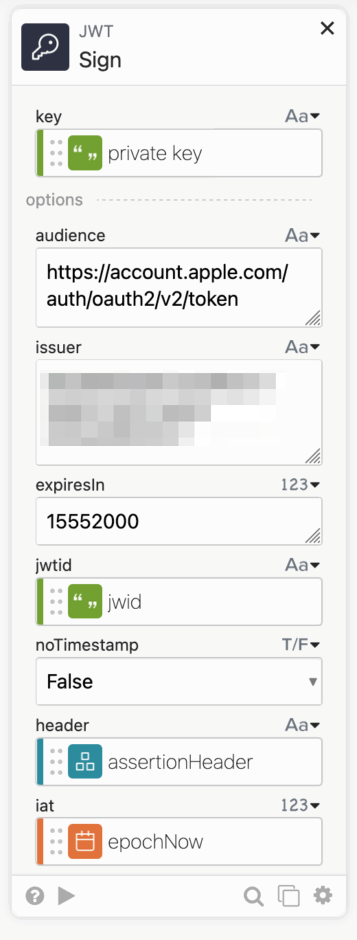
Now we can use the JWT Sign card.

EDIT: While Apple’s docs specify that one should put the assertion in the url, best practice and the Assertion Framework for OAuth 2.0 Client Authentication and Authorization Grants wants that data sent in the body. I have no tested this connector with the assertion in the body, but please do and report back.
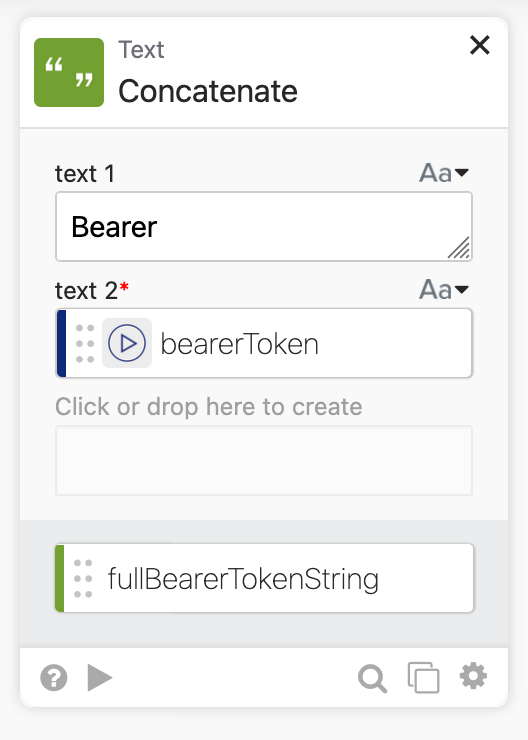
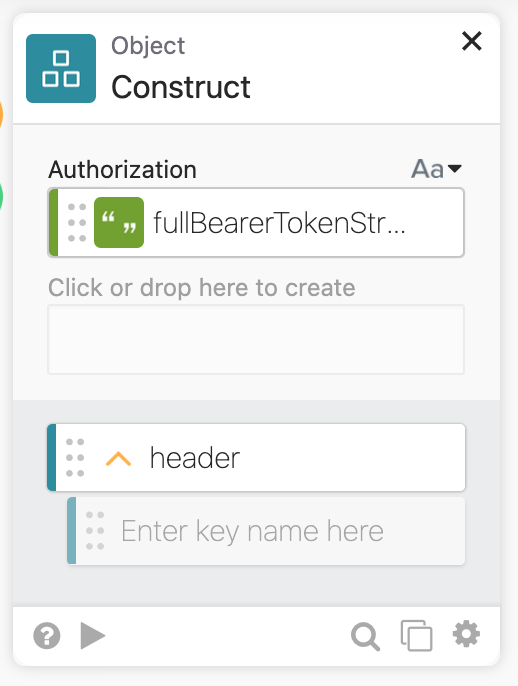
We are then ready to generate the header and ship that data off to Apple.
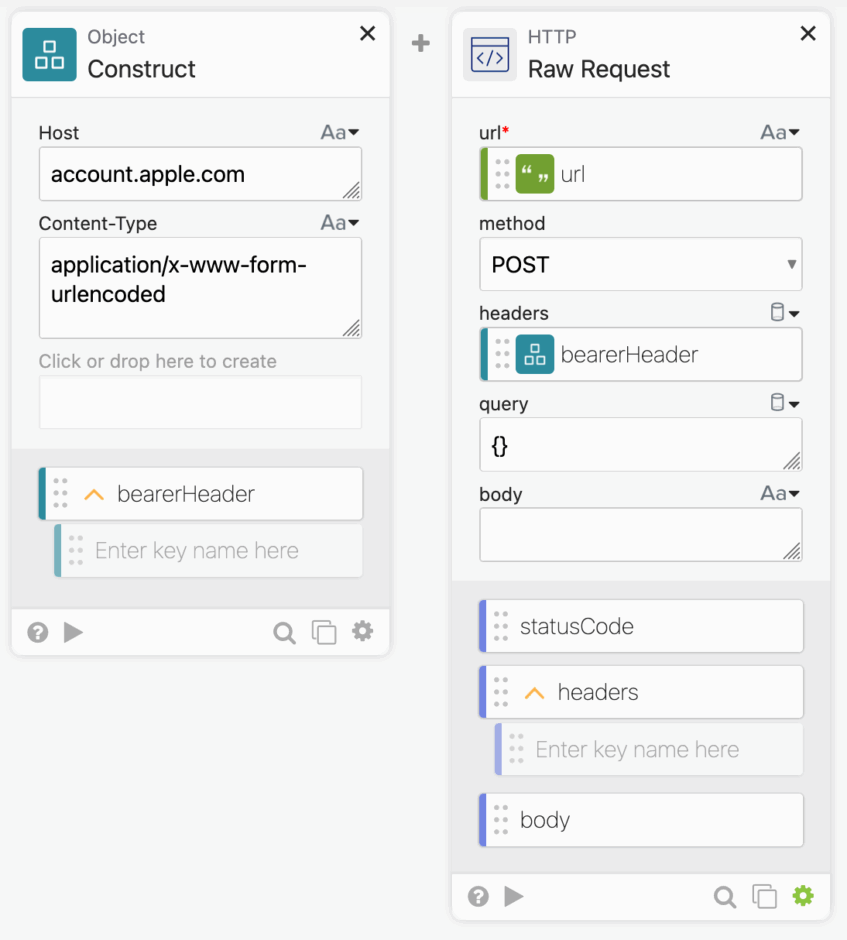
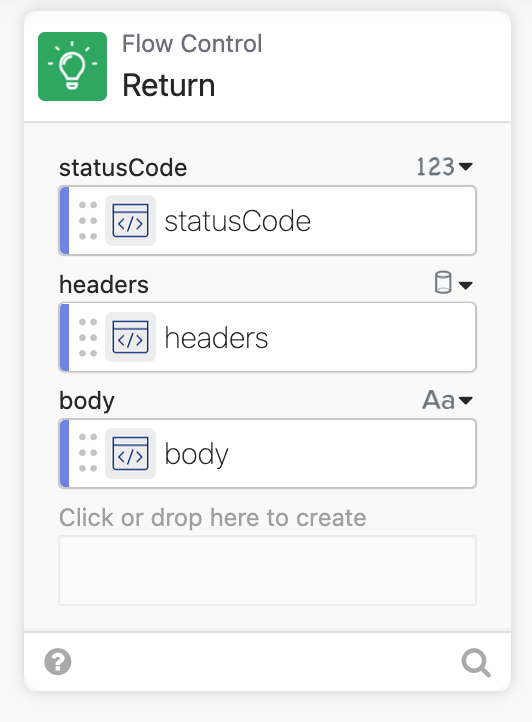
Then we can parse the output and use it elsewhere.

Next we can build a flow called Custom API action, which will allow us to call any API endpoint using the bearer token information before.

The final flow is called “_authPing” which checks to see if it can communicate with the new service and shows a green dot if it can.

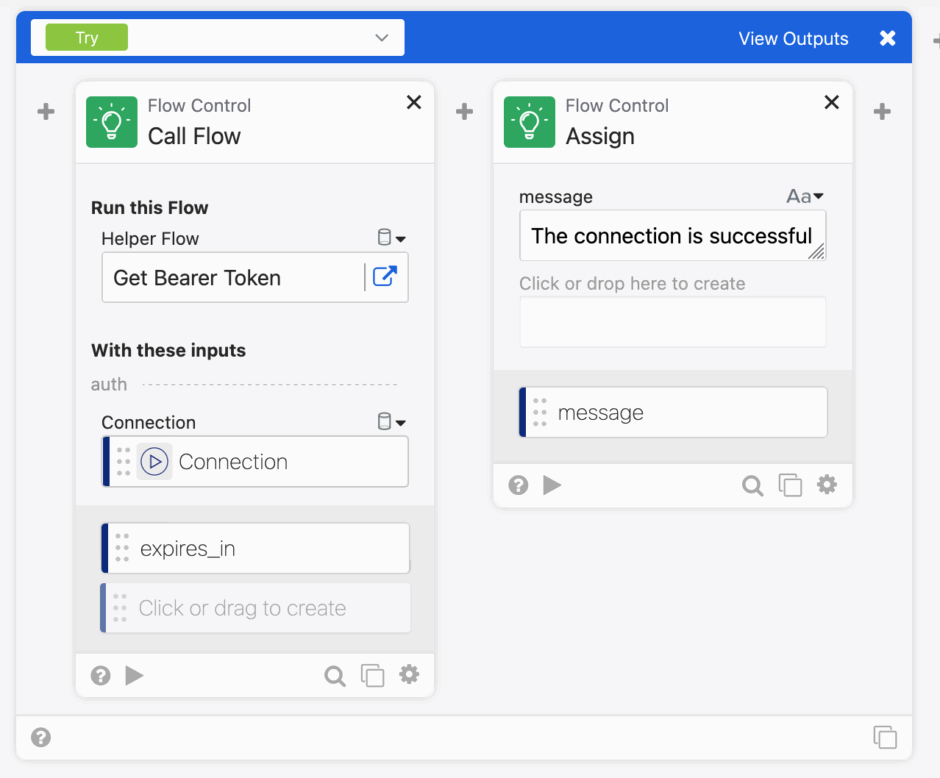
Let’s see it in action.
In this example, we first called Get Bearer Token, which will get the assertion and then the bearer token, it will then provide that token as an output. We can then use that in a card called Custom API Action, which will provide the Endpoint and the bearer token as provided earlier.
